Reference
nginx + rtmp 环境搭建
创建 nginx 文件夹
1
2
3
| cd ~
mkdir nginx
cd nginx
|
下载最新稳定版 nginx
1、登录nginx 官方下载页面,查看最新稳定版本号

可以看到版本号为1.12.2
2、下载并解压缩 nginx 包
1
2
| wget http://nginx.org/download/nginx-1.12.2.tar.gz
tar -zxvf nginx-1.12.2.tar.gz
|
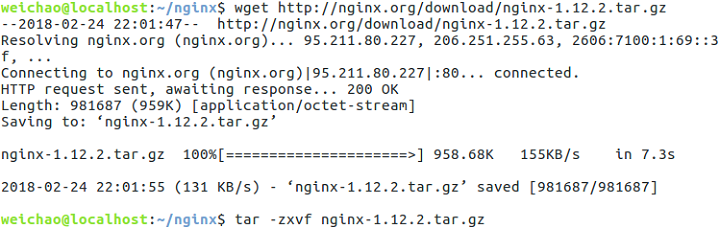
然后在nginx文件夹中会出现nginx-1.12.2文件夹
下载 nginx-rtmp-module
1
| git clone https://github.com/arut/nginx-rtmp-module.git
|

然后在nginx文件夹中会出现nginx-rtmp-module文件夹
安装 nginx
1、切换到 root

2、安装 nginx
1
2
3
| cd nginx-1.12.2
./configure --prefix=/usr/local/nginx --add-module=../nginx-rtmp-module --with-http_ssl_module
make && make install
|
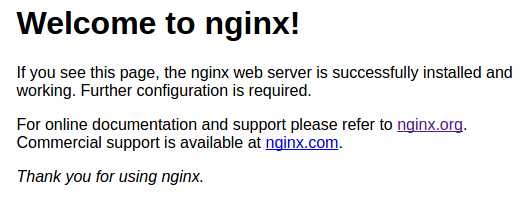
3、浏览器访问localhost,如果出现以下页面说明安装成功
修改 nginx 配置文件
1、查看端口是否被占用(比如端口1395)

如果未查询到端口信息,说明端口未被占用
2、编辑 nginx 配置文件
1
| gedit /usr/local/nginx/conf/nginx.conf
|
使用端口1395作为rtmp推流端口,端口81作为拉流端口:
1
2
3
4
5
6
7
8
9
10
11
12
13
14
15
16
17
18
19
20
21
22
23
24
25
26
27
28
29
30
31
32
33
34
35
36
37
38
39
40
41
42
43
44
45
46
47
48
49
50
51
52
53
54
55
56
57
58
59
60
61
62
63
64
65
66
67
68
69
70
71
| #user nobody;
worker_processes 1;
#error_log logs/error.log;
#error_log logs/error.log notice;
#error_log logs/error.log info;
#pid logs/nginx.pid;
events {
worker_connections 1024;
}
http {
include mime.types;
default_type application/octet-stream;
#log_format main '$remote_addr - $remote_user [$time_local] "$request" '
# '$status $body_bytes_sent "$http_referer" '
# '"$http_user_agent" "$http_x_forwarded_for"';
#access_log logs/access.log main;
sendfile on;
#tcp_nopush on;
#keepalive_timeout 0;
keepalive_timeout 65;
#gzip on;
server {
listen 81;
server_name localhost;
#charset koi8-r;
#access_log logs/host.access.log main;
location / {
root /usr/share/nginx/html;
index index.html index.htm;
}
#error_page 404 /404.html;
# redirect server error pages to the static page /50x.html
#
error_page 500 502 503 504 /50x.html;
location = /50x.html {
root html;
}
}
}
rtmp {
server {
listen 1935; #监听的端口
chunk_size 4000;
application hls { #rtmp推流请求路径
live on;
hls on;
hls_path /usr/share/nginx/html/hls;
hls_fragment 5s;
}
}
}
|
启动 nginx
1、启动 nginx
1
| /usr/local/nginx/sbin/nginx -c /usr/local/nginx/conf/nginx.conf
|

2、查看端口

可以看到拉流端口已经启用,可以开始拉流了,但是推流端口还没有数据
录屏推流
1、clone ScreenRecorder
2、查看 ip
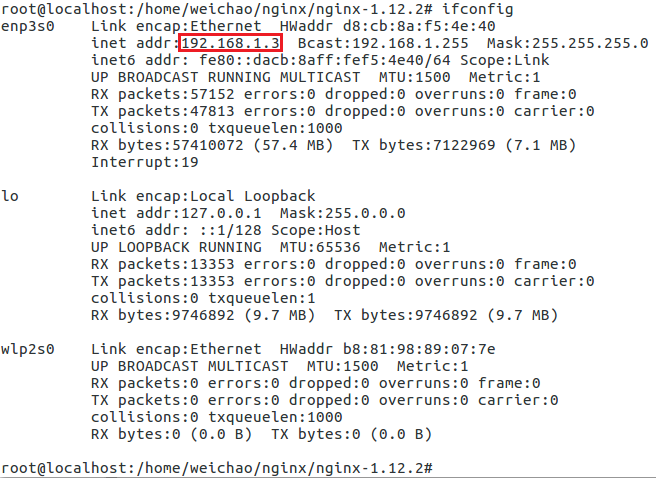
ip 是192.168.1.3
3、修改推流地址
rtmp://192.168.1.3:1935/hls/test
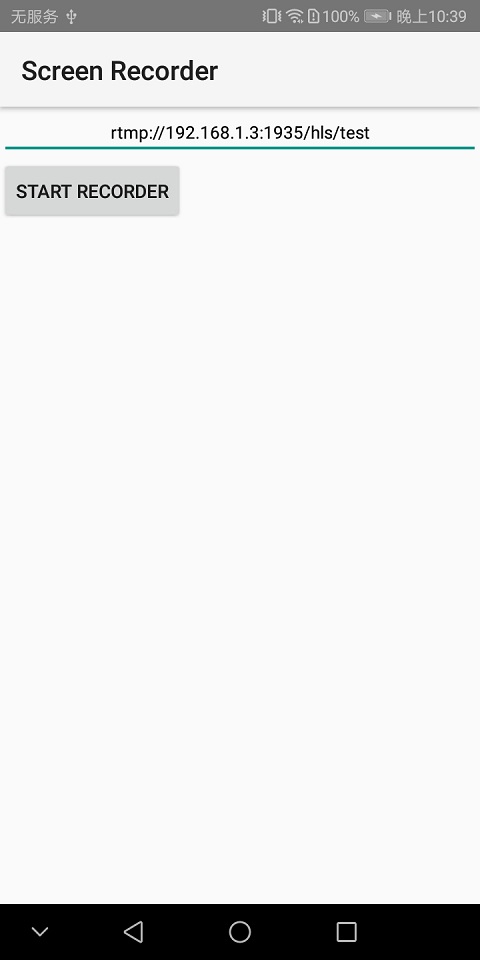
然后开始录屏推流,但是推流端口没有被占用?
拉流
直接访问地址
http://192.168.1.3:81/hls/test.m3u8
PC 端 Chrome 浏览器
访问该地址直接下载了一个test.m3u8文件,打开后报错
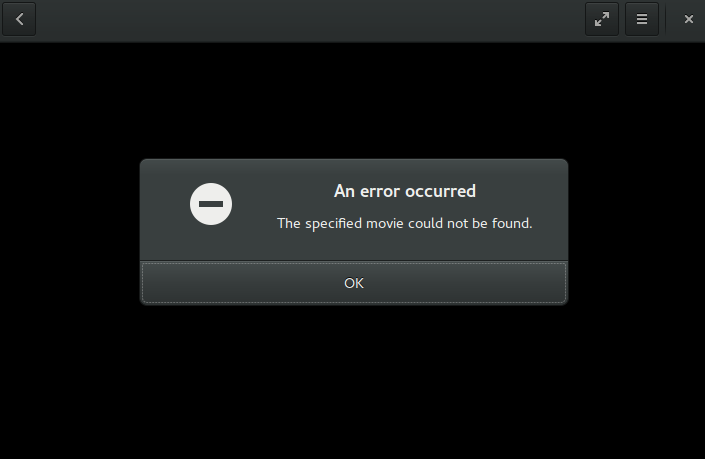
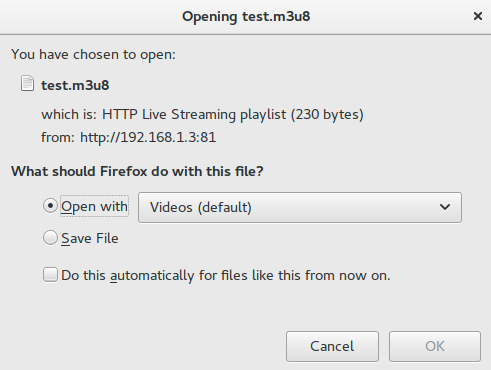
PC 端 FireFox 浏览器
访问该地址会弹框提示
点击OK后会报错
M 端 Chrome 浏览器